






How to Use Tattoo Stencil Paper: A Beginner’s Guide

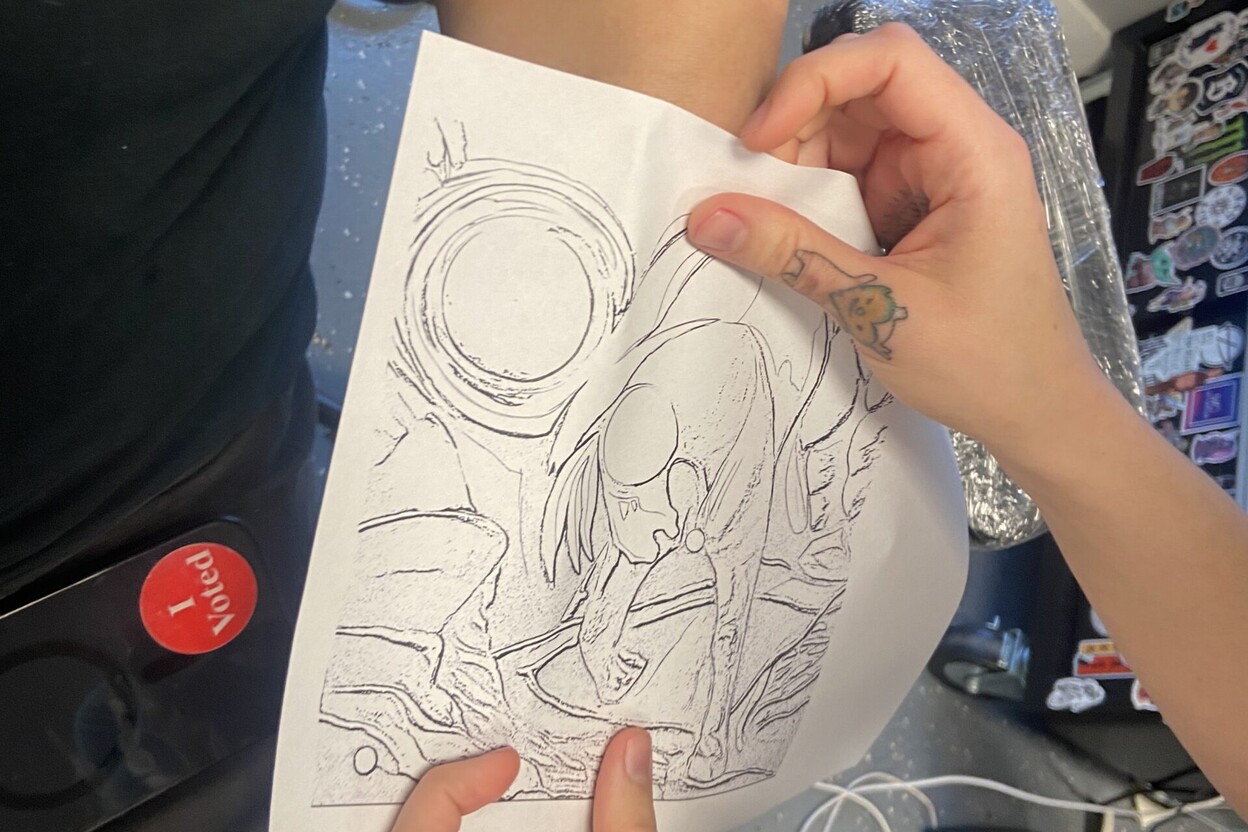
Tattoo stencil paper lets an artist move a design onto skin before tattooing begins. A clear stencil helps with placement, proportions, and following the planned lines.
If you are learning how to use tattoo stencil paper, the first thing to know is that different paper systems have slightly different layers and instructions, so check the manufacturer’s guide before you start.
Table of Contents
What Is Tattoo Stencil Paper?
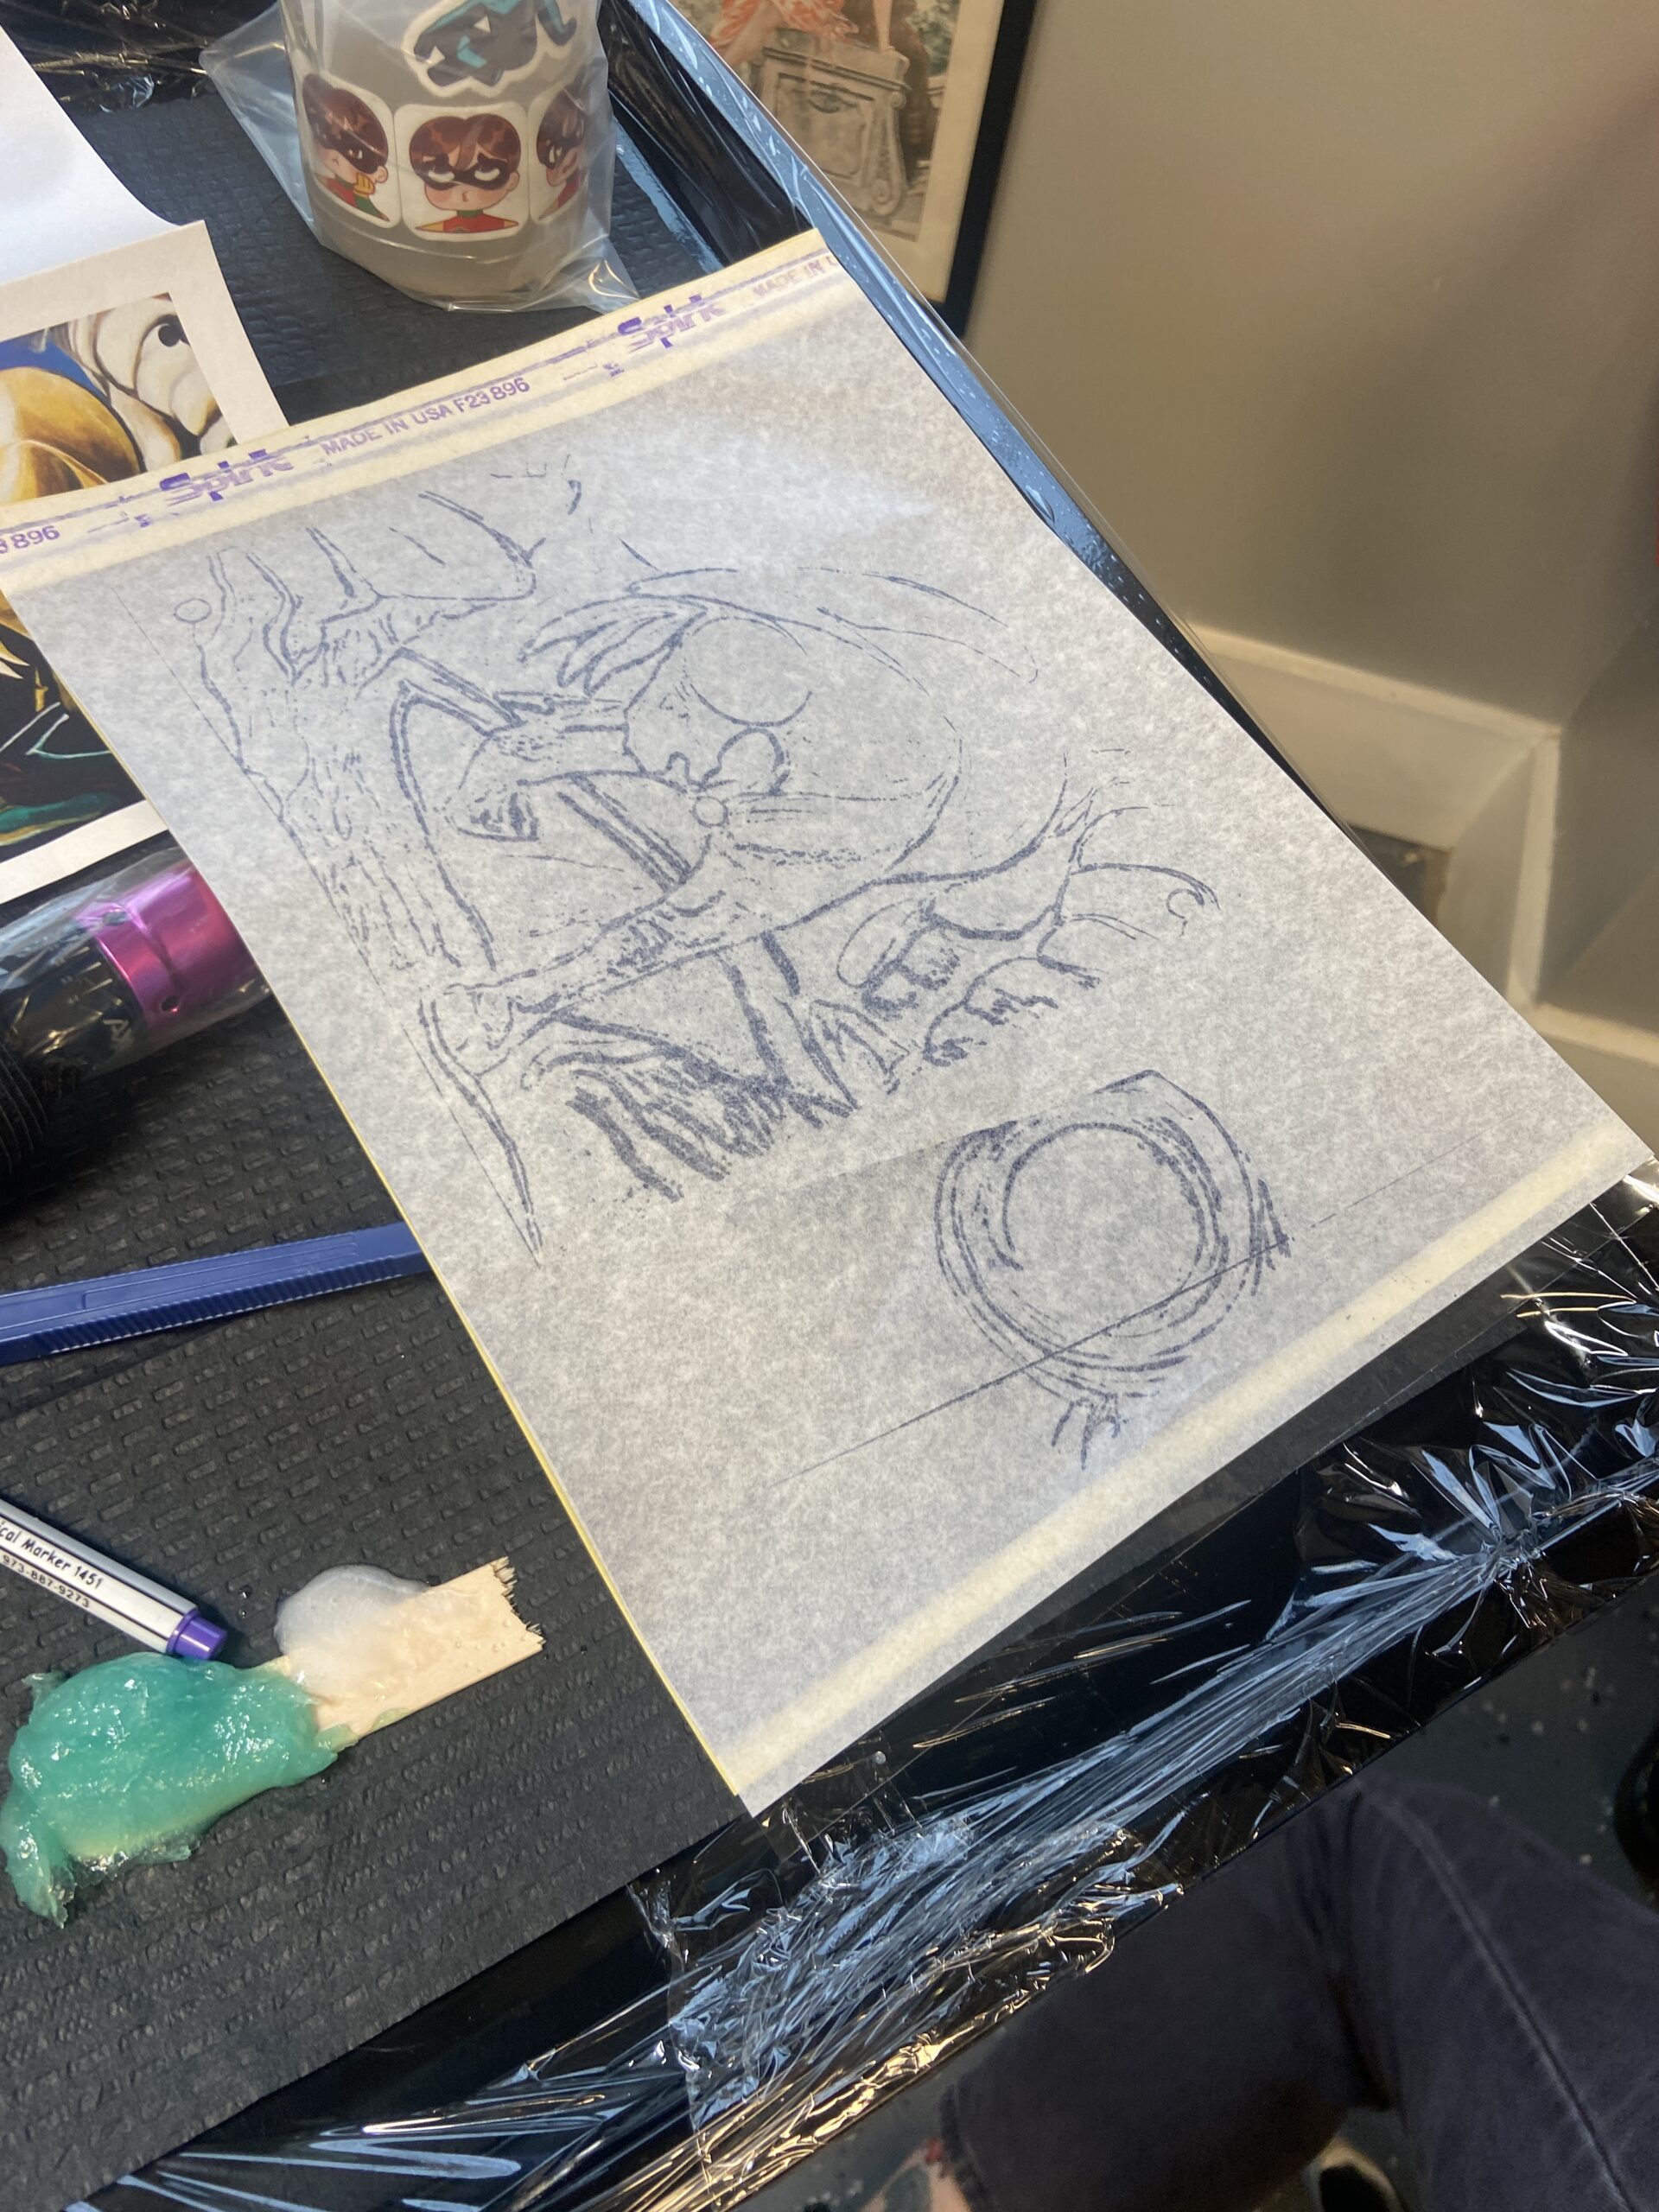
Most thermal stencil paper is made of several layers: a protective sheet, a colored transfer layer, a master sheet, and sometimes a backing sheet. A thermal printer uses heat to reproduce a design onto the transfer layer.
Other stencil papers can be used with a hand-traced design. The purpose is the same: create a temporary guide for a trained tattoo artist.
What you need
- Tattoo stencil paper compatible with your transfer method
- A clean design printed or drawn at the intended size
- A thermal stencil printer, if using thermal paper
- A skin-safe stencil transfer product
- Disposable gloves and appropriate skin-preparation supplies
For actual tattoo work, use products intended for professional tattooing and follow local hygiene requirements. Do not use ordinary craft paper, office carbon paper, or unapproved household chemicals on skin.
How to Use Tattoo Stencil Paper: Prepare the Sheets
- Identify the layers. Carefully separate any protective sheet as directed by the paper manufacturer. Avoid tearing or creasing the transfer layer.
- Prepare the artwork. Check size, orientation, spelling, and line clarity before transferring. Text and directional designs may need to be mirrored, depending on the printer and workflow.
- Load the paper correctly. Follow the printer’s diagram for the transfer sheet’s orientation. Loading it backward can produce a faint or blank stencil.
- Make a test transfer. When learning a new paper or printer, test on suitable practice material first rather than discovering a setup problem on a client.
How to transfer the stencil to skin
Skin preparation and transfer are professional hygiene steps. A trained artist should use a clean work area, gloves, appropriate skin preparation, and a transfer product designed for skin.
Apply the product according to its label, position the stencil without sliding it, and follow the product’s recommended contact time before lifting the paper.
Avoid repeated repositioning over the same area because it can create doubled lines or contaminate the setup.
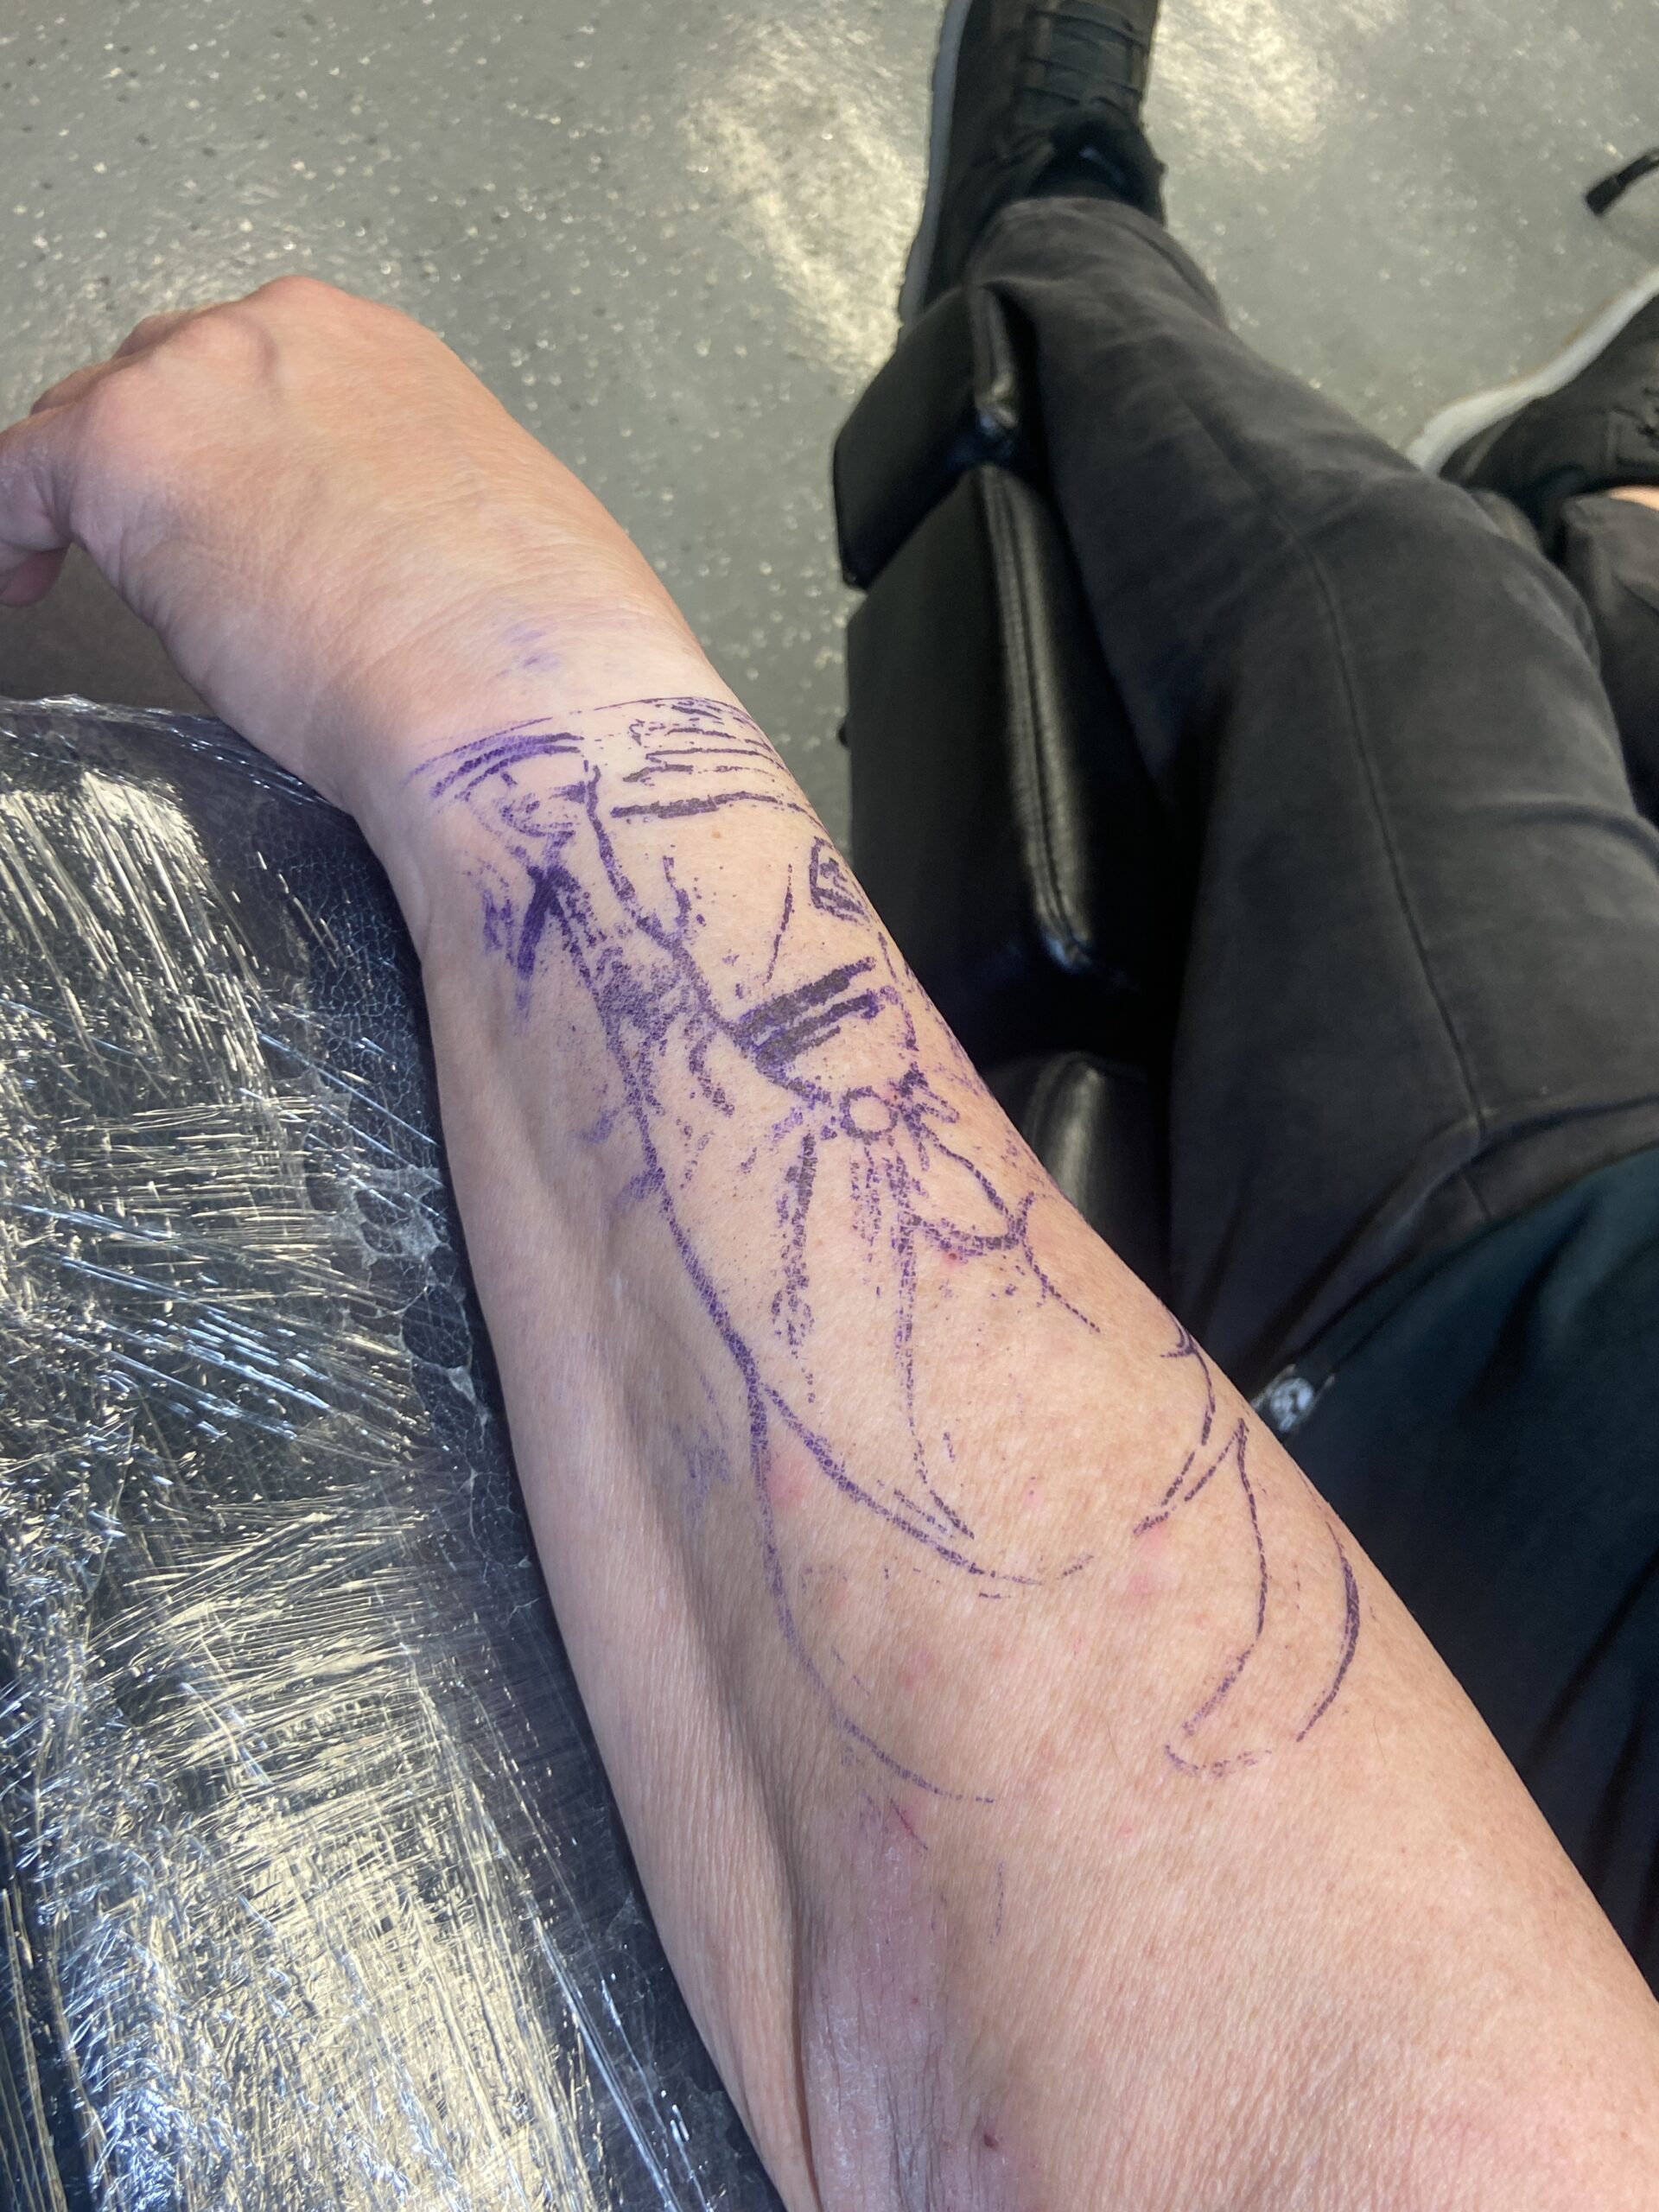
Allow the transfer to set as directed before assessing the result. If the stencil is incomplete, smeared, or placed incorrectly, do not simply tattoo over unclear lines. Follow studio procedures for removing the transfer, re-preparing the area, and applying a fresh stencil.
Thermal stencil paper vs. hand-tracing paper
Before you begin, identify which kind of stencil paper you have. Thermal stencil paper is designed for a compatible thermal copier or stencil printer.
The machine reproduces the artwork onto the transfer layer, so the paper must be loaded in the orientation shown in its instructions. Hand-tracing paper is used by placing the design over the correct layers and tracing it with the recommended pen or stylus.
These methods are related, but they are not interchangeable: follow the instructions for the specific paper you bought.
| Paper type | Typical method | Check before starting |
|---|---|---|
| Thermal stencil paper | Compatible thermal stencil printer | Paper orientation, printer compatibility, and settings |
| Hand-tracing stencil paper | Trace the artwork with the intended tool | Layer order, tracing surface, and suitable pen or stylus |
| Practice template | Use as a drawing or placement exercise | Whether it is meant for practice only or for professional transfer |
Check the design before transferring
Take a moment to inspect the artwork at its final size. Fine lines, tiny lettering, and crowded details can become difficult to read after transfer, especially when the design is reduced.
Check spelling, line weight, symmetry, and orientation. If the design contains text, a face, or another directional element, confirm whether it needs to be mirrored for your workflow. Do not rely on memory; compare the stencil with the approved reference before it reaches the skin.
Also consider placement and body movement. A design that looks straight on a flat screen may appear tilted when placed over a curved area or joint. A trained tattoo artist should check the stencil from more than one angle and confirm placement with the client before tattooing. When practicing, use synthetic skin or paper templates to learn how size and curvature affect the result.
Troubleshooting a faint or incomplete stencil
If the transferred image is faint, first check the paper type, layer order, printer compatibility, and print settings. A thermal printer may need settings adjusted for the paper and artwork, while a hand-traced design may need more even pressure or clearer source lines.
Make changes on practice material and test again rather than repeatedly trying to repair an unclear transfer on skin.
If lines look doubled or smeared, the paper may have moved during transfer or the stencil may have been repositioned. If areas are missing, check whether the design was loaded correctly and whether the transfer layer was handled as directed.
Avoid adding unapproved chemicals or household products to force a transfer to work. If a stencil on skin is unclear or incorrectly placed, follow professional studio hygiene procedures to remove it and prepare a fresh transfer.
When comparing products, look for clear instructions, compatibility information, and a transfer method that matches your equipment. Do not assume a sheet will work with every thermal printer or every tracing tool.
If the packaging does not explain the layer order, ask the supplier or consult the manufacturer’s documentation before use. Keeping the original instructions with the paper can save time and reduce avoidable setup errors.
Remember that a stencil is a placement guide, not a substitute for design approval, training, or sterile technique. The right paper can help reproduce the artwork, but a clean result also depends on appropriate preparation, correct handling, and checking the transfer before tattooing begins.
For learning purposes, practice the full setup on suitable synthetic skin until you can identify the layers and produce a clear, correctly oriented design consistently.
How to store tattoo stencil paper
Keep unused stencil sheets in their original packaging and follow the manufacturer’s storage instructions. Protect them from moisture, excessive heat, direct sunlight, dust, and creasing.
Do not touch transfer surfaces unnecessarily, and avoid mixing loose sheets from different products if their layer systems differ. Labeling the package with the paper type can help prevent loading the wrong material during a session.
Before a session, check that the paper is clean, undamaged, and within any stated use or storage guidance. If it has become damp, folded, contaminated, or otherwise compromised, replace it rather than risking a poor transfer.
Good storage will not correct incompatible paper or incorrect printer settings, but it can help keep suitable sheets in usable condition.
Identify each layer before loading the paper
Do not assume every brand uses exactly the same sheet order. Some systems include a protective tissue sheet, a colored transfer sheet, a master sheet, and a backing layer; others package the layers differently. Read the diagram supplied with your paper and separate only the layer the manufacturer tells you to remove.
If the layers are confusing, pause and check the product instructions rather than guessing.
For thermal systems, make sure the paper is compatible with the printer and that the transfer sheet is facing the correct direction. For hand tracing, confirm which side receives the tracing and which layer carries the transfer pigment.
A test on practice material is a simple way to check that the setup works before using it in a professional workflow.
A quick pre-transfer checklist
- Confirm the design is approved, readable, correctly sized, and oriented.
- Check the paper type, layer order, printer compatibility, and manufacturer instructions.
- Test the setup on appropriate practice material when using unfamiliar paper or settings.
- For professional skin transfer, use a clean setup and products intended for that purpose.
- Inspect the placement before proceeding; restart with a fresh stencil if the transfer is unclear.
Common mistakes to avoid
- Loading the paper in the wrong direction
- Using a design that is too faint or overly detailed for its size
- Skipping a test print after changing settings or paper brands
- Using too much or too little transfer product
- Touching the prepared area or letting the stencil slide
- Using products not intended for skin
How to get a cleaner result
Keep artwork lines clear, choose a size that preserves important details, and follow the exact instructions for your paper and transfer product. If you are practicing, use synthetic skin and practice materials.
Applying tattoos to people requires proper training, hygiene, and compliance with local rules; stencil paper alone does not make a setup safe.
More tattoo stencil guides
For a more detailed walkthrough of hand-traced stencils, thermal printers, and transfer preparation, read Tattooing 101’s complete guide to tattoo stencil paper. The guide covers both stencil-making methods and explains how they differ.
Frequently asked questions
Can I use tattoo stencil paper without a printer?
Some stencil paper is designed for hand tracing, while thermal paper is intended for a compatible thermal printer. Check the product type before buying.
Which side of tattoo stencil paper should face the design?
It depends on the paper system and printer. Follow the manufacturer’s layer diagram instead of guessing, because sheet construction varies.
Can I use regular carbon paper on skin?
Do not assume office or craft carbon paper is skin-safe. Use products specifically made for tattoo stencil transfer.

[…] For more detail on identifying the sheets and avoiding loading mistakes, read our guide to how to use tattoo stencil paper. […]
[…] smudging seems to begin with the paper or printer setup, our guide to using tattoo stencil paper explains layer order, compatibility, and faint-transfer […]
[…] the step-by-step workflow, see our companion guide on how to use tattoo stencil paper, from preparing the sheets to troubleshooting a faint […]
[…] the stencil is faint or incomplete before it reaches the skin, start with our guide to using tattoo stencil paper to check sheet orientation, paper compatibility, and transfer […]
[…] you suspect the problem starts before the stencil reaches the skin, see our guide to how to use tattoo stencil paper correctly, including paper orientation and transfer […]
[…] choosing a method, read our guide to using tattoo stencil paper for a closer look at sheet layers, printer setup, and transfer […]
[…] For the full step-by-step process, see our complete guide to using tattoo stencil paper. […]
[…] buying a printer, review our guide to using tattoo stencil paper so you understand the paper layers, compatibility checks, and common setup […]