






How to Hand Draw a Tattoo Stencil Without a Printer

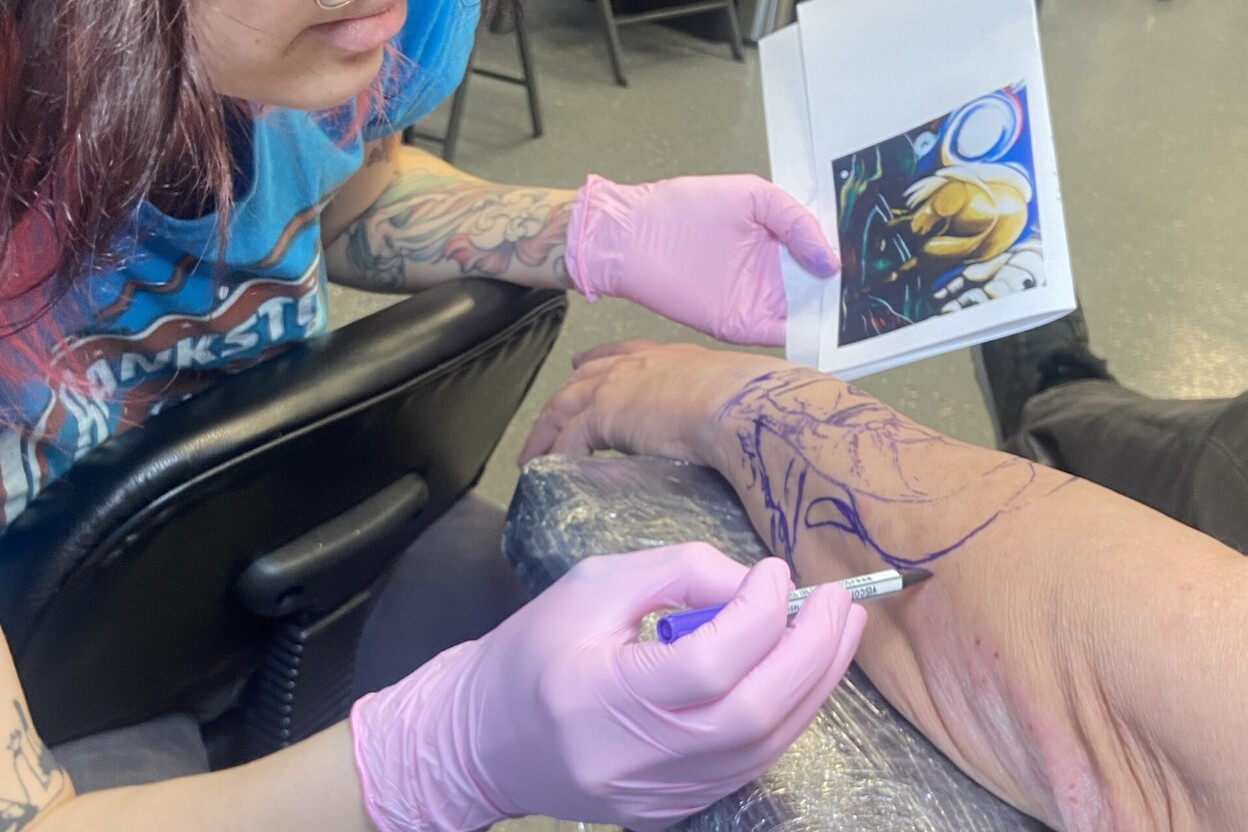
You do not always need a thermal printer to prepare a tattoo stencil. Paper designed for hand tracing can help an artist create a guide from a printed reference or hand-drawn design.
If you are learning how to hand draw a tattoo stencil, focus on clean lines, correct proportions, and using the right materials for the intended surface.
For more detail on identifying the sheets and avoiding loading mistakes, read our guide to how to use tattoo stencil paper.
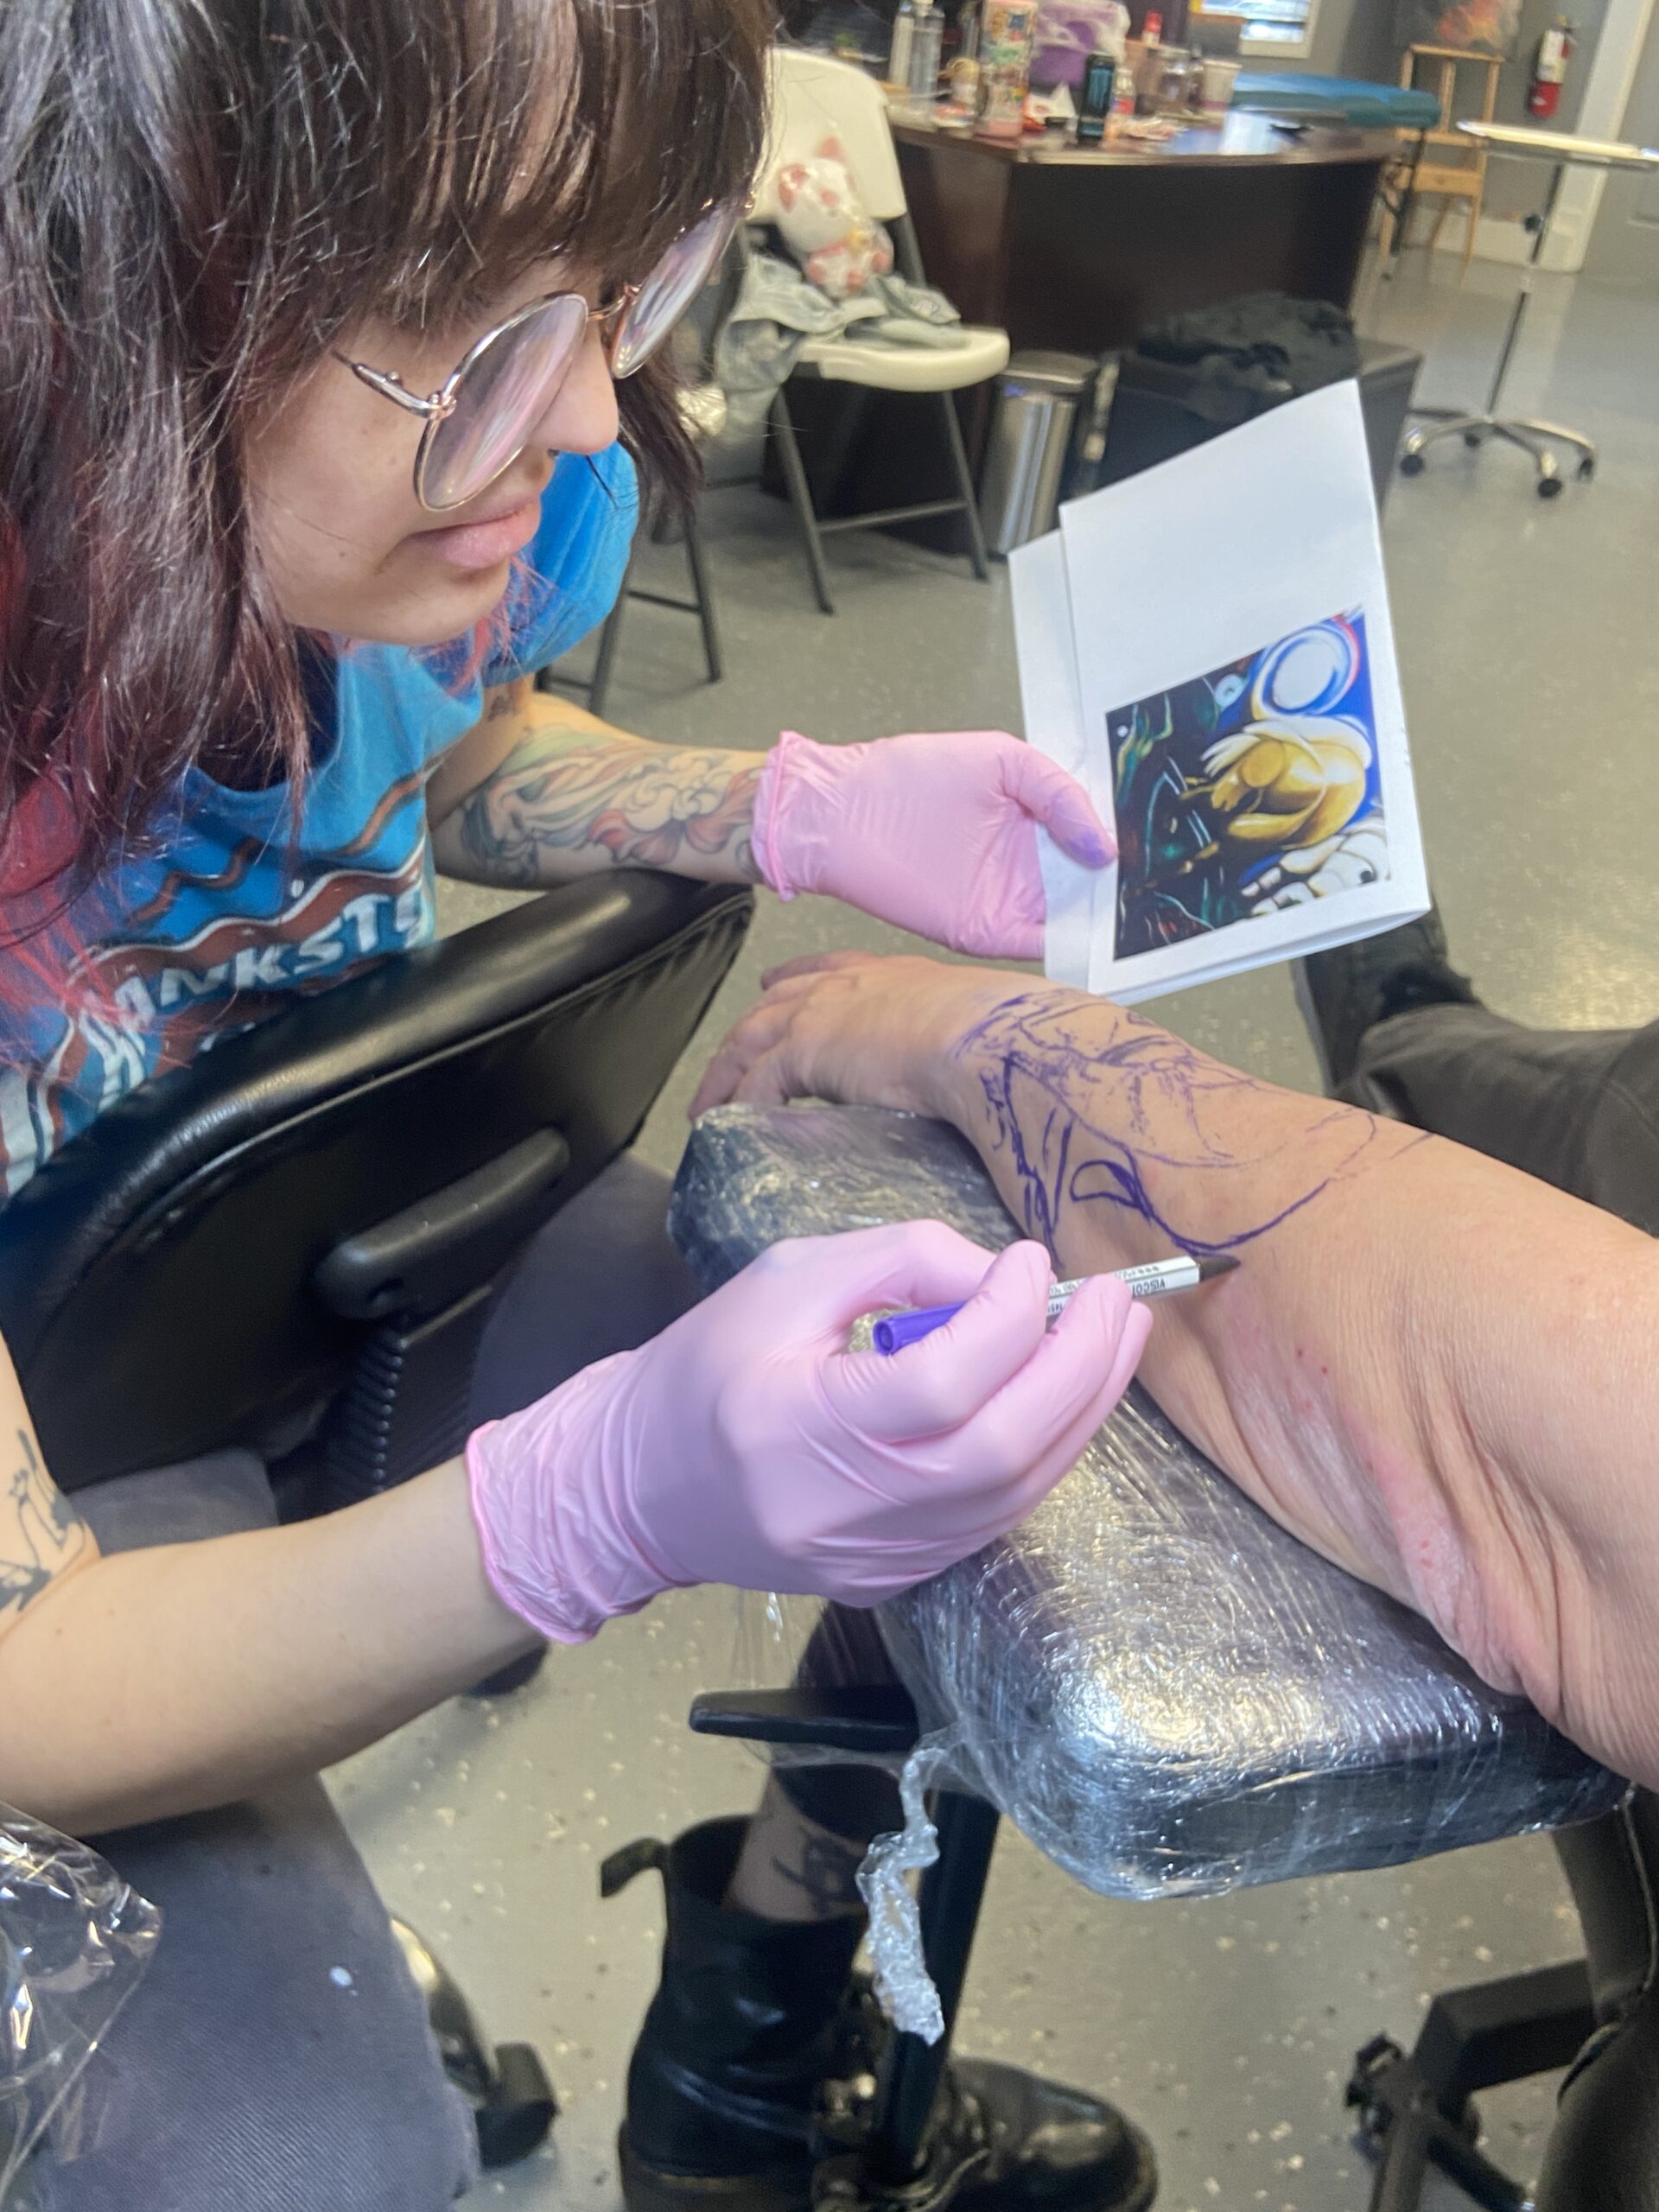
What you need
- Stencil paper intended for hand tracing
- A clean design reference at the correct size
- The tracing tool recommended for that paper
- A flat, stable work surface
- Paper or synthetic skin for practice
Do not assume ordinary carbon paper, office supplies, craft markers, or household chemicals are suitable for use on human skin. Follow the stencil paper’s instructions and any product warnings.
Step 1: Choose a clear design
Start with artwork whose main lines are easy to distinguish. If the design contains dense shading, tiny lettering, or overlapping details, simplify it for the stencil stage. A stencil is a working guide, not necessarily a complete reproduction of every texture in the finished tattoo.
Step 2: Size and orient the artwork
Set the design to its intended dimensions and check whether the image needs to be reversed for the chosen transfer method. Confirm all lettering and directional elements before tracing. A small test on plain paper can catch errors before you use stencil material.
Step 3: Arrange the paper layers
Hand-tracing papers vary in construction. Follow the product’s diagram to identify the transfer layer and any protective sheets that should be removed. Keep the stack aligned and prevent it from sliding while you work.
Step 4: Trace with consistent pressure
Trace slowly and deliberately using the recommended tool. Keep the reference and stencil paper steady. Use controlled strokes around curves and corners, and check the paper occasionally to ensure that the transfer is appearing as expected.
Excessive pressure can damage the paper or create uneven marks.
Step 5: Inspect the result
Compare the completed stencil with the original design. Check for missing outlines, accidental extra marks, reversed text, and details that have become too crowded.
Correct errors before using the stencil for practice or transferring it in a professional setting.
Common mistakes
- Tracing too quickly and skipping small but important lines
- Using a dull or incompatible tracing tool
- Letting the paper layers shift
- Making the design too small for its detail level
- Forgetting to check orientation
- Assuming a practice template is automatically safe for skin
How to improve your tracing
Practice with simple outlines first, then move to more detailed designs.
Compare your stencil against the reference at the same scale. If the image is hard to read, simplify it instead of trying to preserve every tiny mark. Consistency matters more than speed.
Using a hand-drawn stencil on skin
Any transfer to human skin should be part of a professional process using appropriate skin-safe transfer products, clean supplies, and the required hygiene protocol. Tattooing people requires training and compliance with local health regulations.
If you are a beginner, keep early practice on paper and synthetic skin and seek supervised instruction.
Frequently asked questions
Can I draw a tattoo stencil with a regular pen?
Use the tracing tool recommended for the stencil paper. A regular pen is not automatically compatible or skin-safe.
Is hand tracing as good as a thermal printer?
It depends on the design and the artist’s skill. Hand tracing can work well for simpler artwork, while a compatible thermal printer may be more convenient for repeatable digital designs.
Reader Discussion
0 Comments