






How to Transfer Tattoo Stencil to Skin

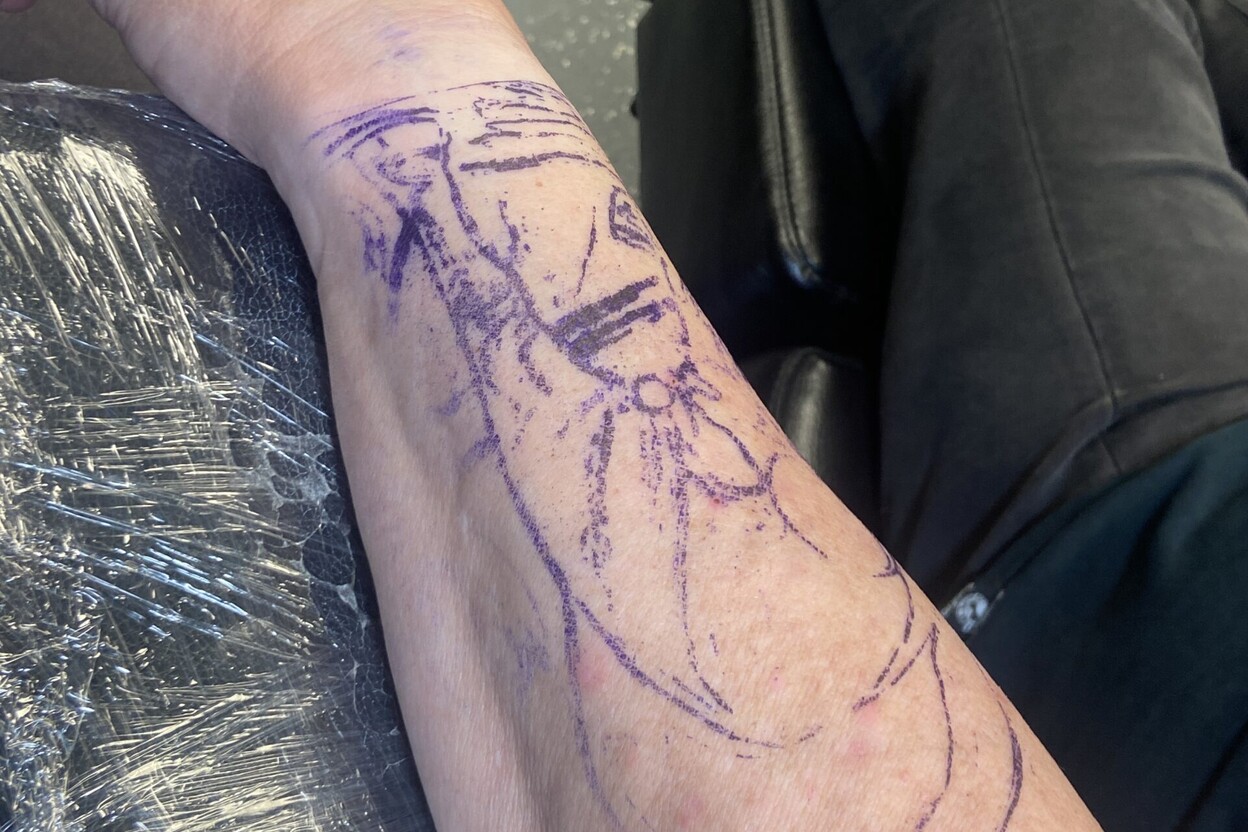
Transferring a tattoo stencil to skin turns a digital or hand-drawn design into a temporary guide for placement. The transfer needs to be clear, correctly oriented, and stable enough for the artist to inspect before work begins.
Here is how to approach how to transfer a tattoo stencil to skin in a professional setting.
For the full step-by-step process, see our complete guide to using tattoo stencil paper.
Before you begin
Have the final artwork, compatible stencil paper, and a skin-safe transfer product ready. Check that the design is the agreed size and that any lettering, numbers, or directional elements are oriented correctly. If you are learning, practice the paper and transfer method on synthetic skin first.
Step 1: Prepare the stencil
Print the design with a compatible thermal stencil printer or trace it using paper designed for hand transfer. Follow the paper manufacturer’s instructions for sheet orientation and layer removal. A faint print, incomplete lines, or incorrect mirroring should be corrected before skin preparation.
Step 2: Prepare the skin
A trained tattoo artist should prepare the area using the studio’s hygiene protocol and appropriate clean supplies. Use products intended for the relevant skin-preparation step and follow their labels. Never transfer onto irritated or broken skin, and do not substitute household cleaners or unapproved chemicals for professional supplies.
Step 3: Apply transfer product
Apply a stencil transfer product specifically intended for skin, following the manufacturer’s directions. Product amounts and setting times differ, so avoid treating one method as universal. Too much product may cause movement; too little can create an uneven transfer.
Step 4: Place the stencil
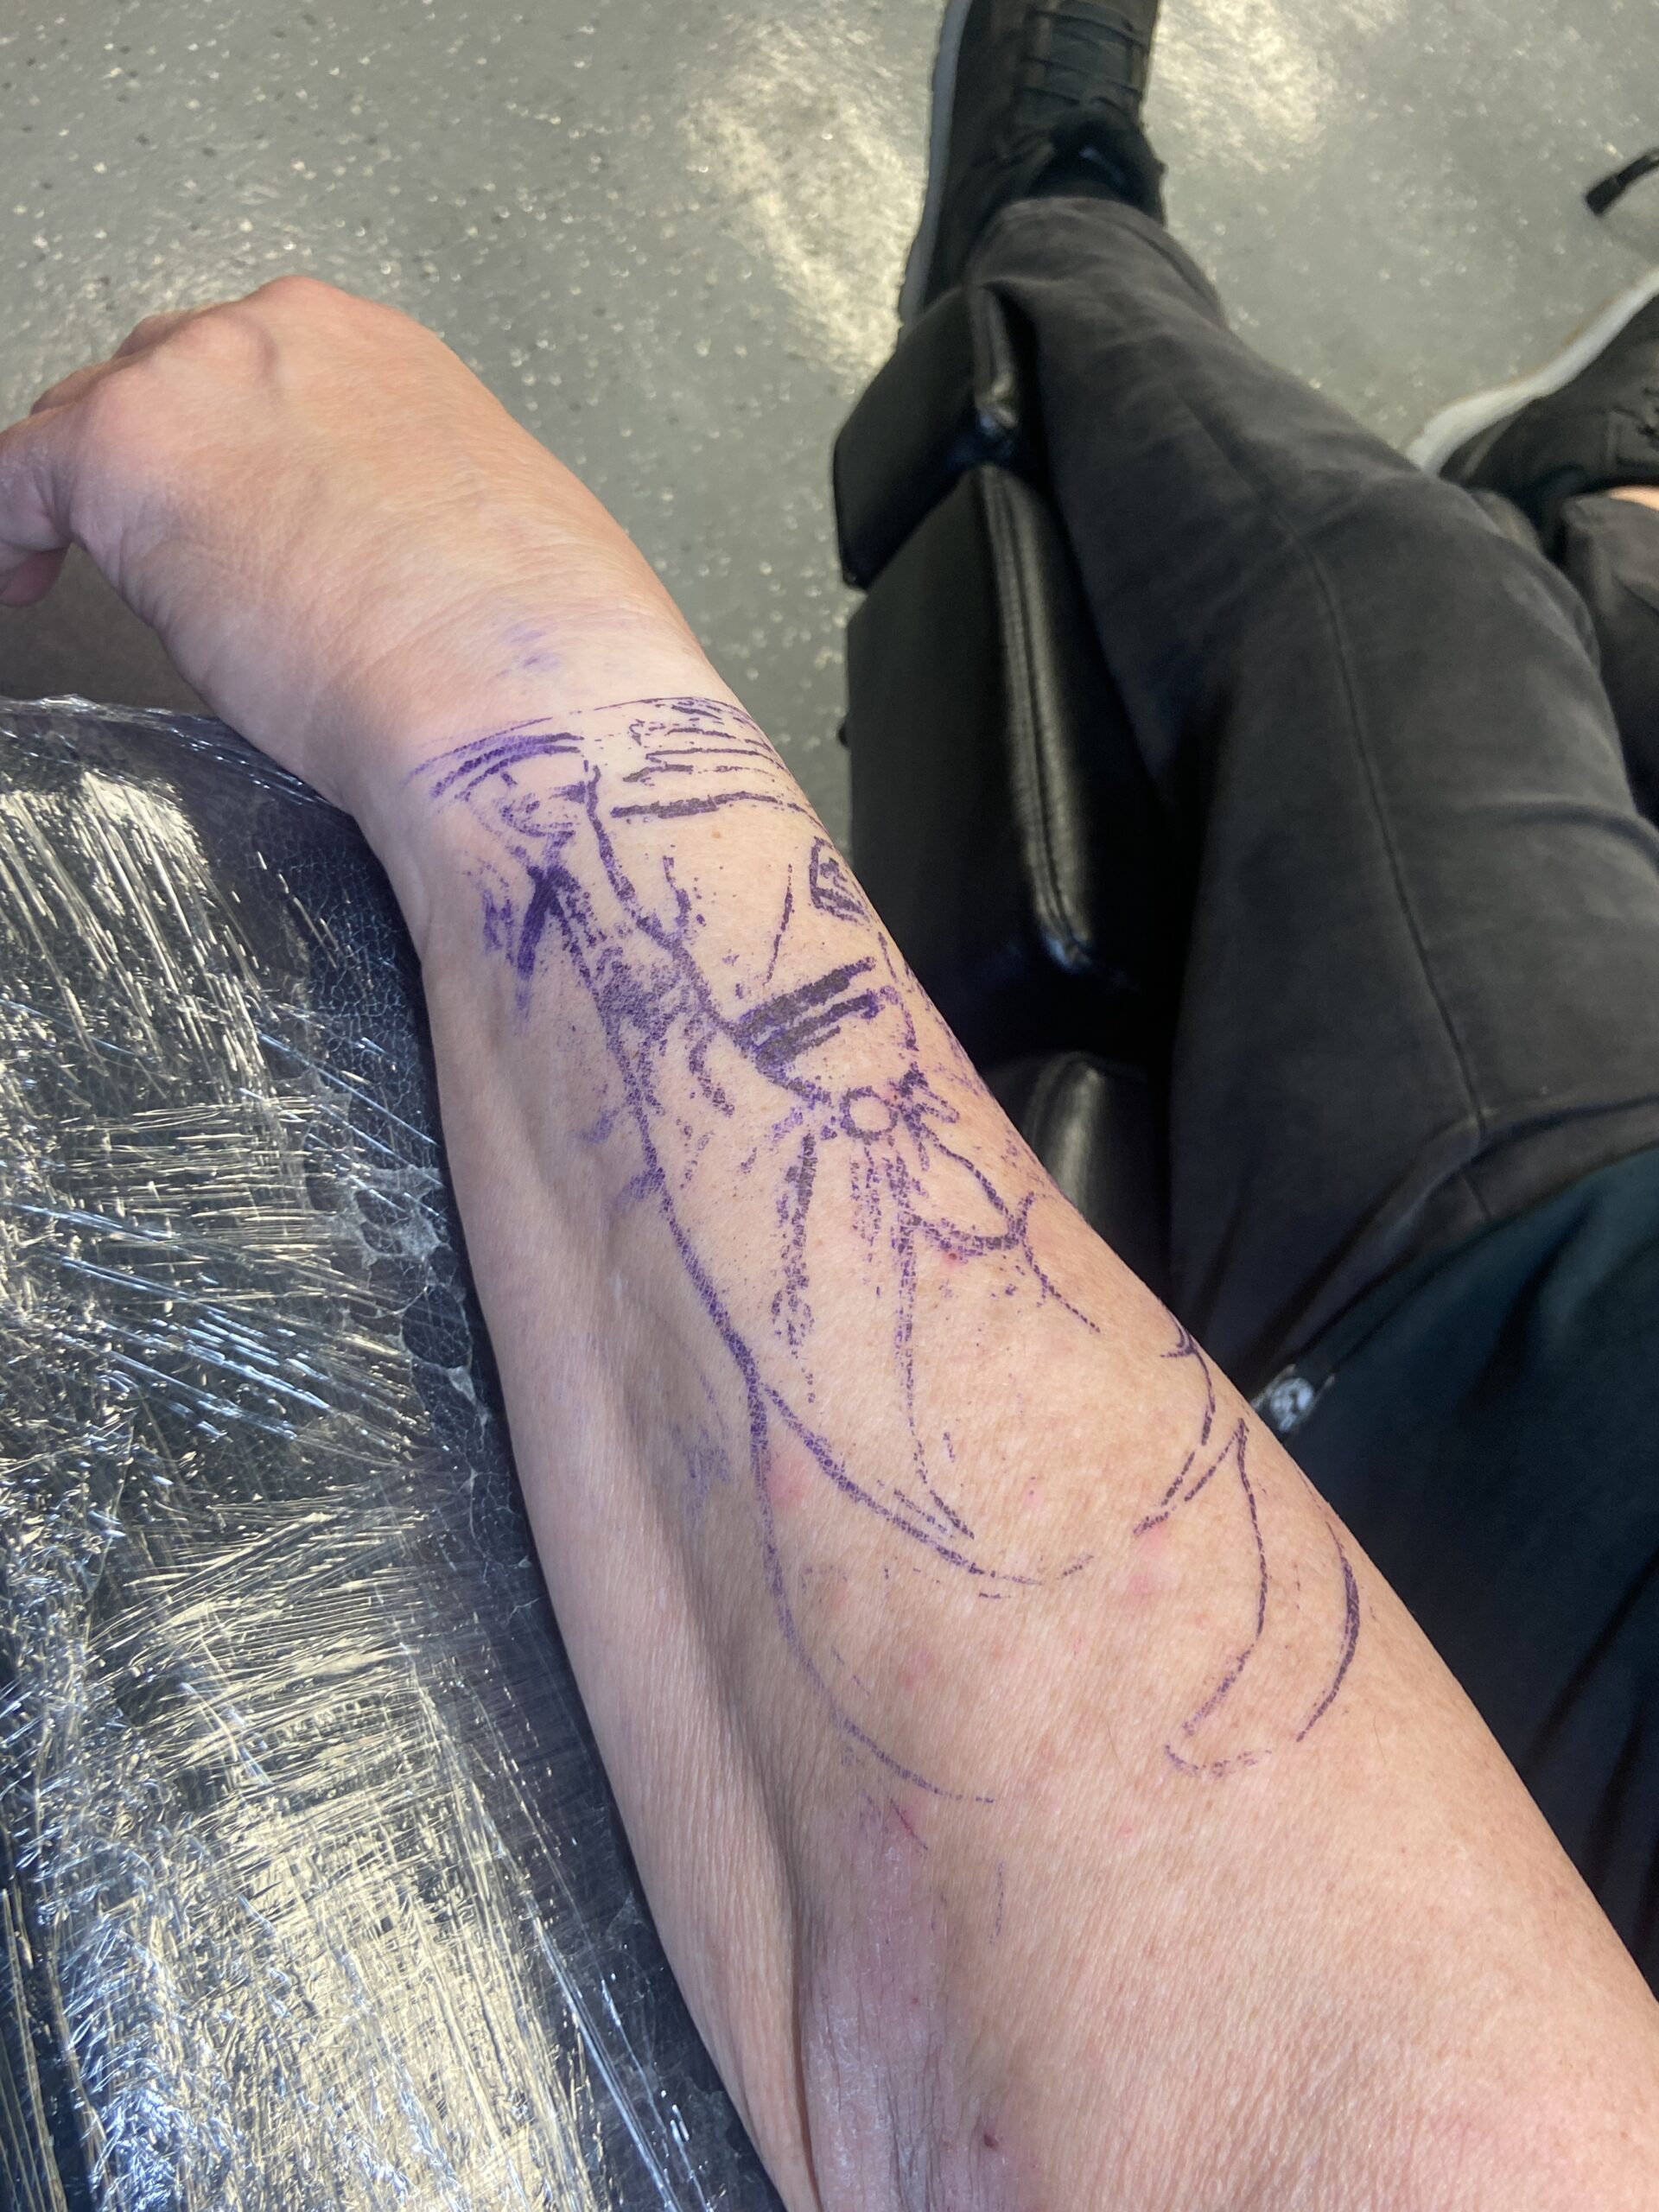
Line up the design with the body area and confirm the placement before contact. Set the stencil down carefully, keeping it from sliding, buckling, or folding. If the body area is curved, take extra care to maintain the intended proportions rather than forcing the paper flat in a way that distorts the image.
Step 5: Remove the paper and inspect
Lift the paper gently as directed by the product instructions. Look for complete lines, readable details, and correct placement. Do not begin tattooing if the stencil is blurry, doubled, incomplete, or different from the agreed design.
Step 6: Let the transfer set
Allow the stencil to dry or set for the time recommended by the transfer product. Avoid rubbing the area or touching the lines unnecessarily. If the design becomes unreadable, follow professional procedures to remove it, re-prepare the area, and start again with clean supplies.
Troubleshooting transfer problems
- Faint lines: Check print quality, paper orientation, and whether the transfer product was used as directed.
- Double lines: The paper may have shifted or been repositioned during contact.
- Smearing: The transfer may have moved or been handled before setting.
- Missing details: The design may be too small, the print may be weak, or the paper may not suit the method.
Important safety note
A stencil transfer is only one part of tattooing. Tattooing another person requires appropriate training, sterile equipment, infection-control procedures, and compliance with local laws. If you are not trained, keep practice to suitable synthetic skin and seek supervised instruction rather than experimenting on people.
Frequently asked questions
Can I use water to transfer a tattoo stencil?
Only use the method specified for your stencil paper and transfer product. Not every paper system is designed for water transfer.
Why does my stencil disappear quickly?
Possible causes include incomplete skin preparation, product incompatibility, insufficient setting time, or friction. Check each product’s instructions and studio procedure.
Reader Discussion
0 Comments