




How to Make Tattoo Stencils at Home for Practice

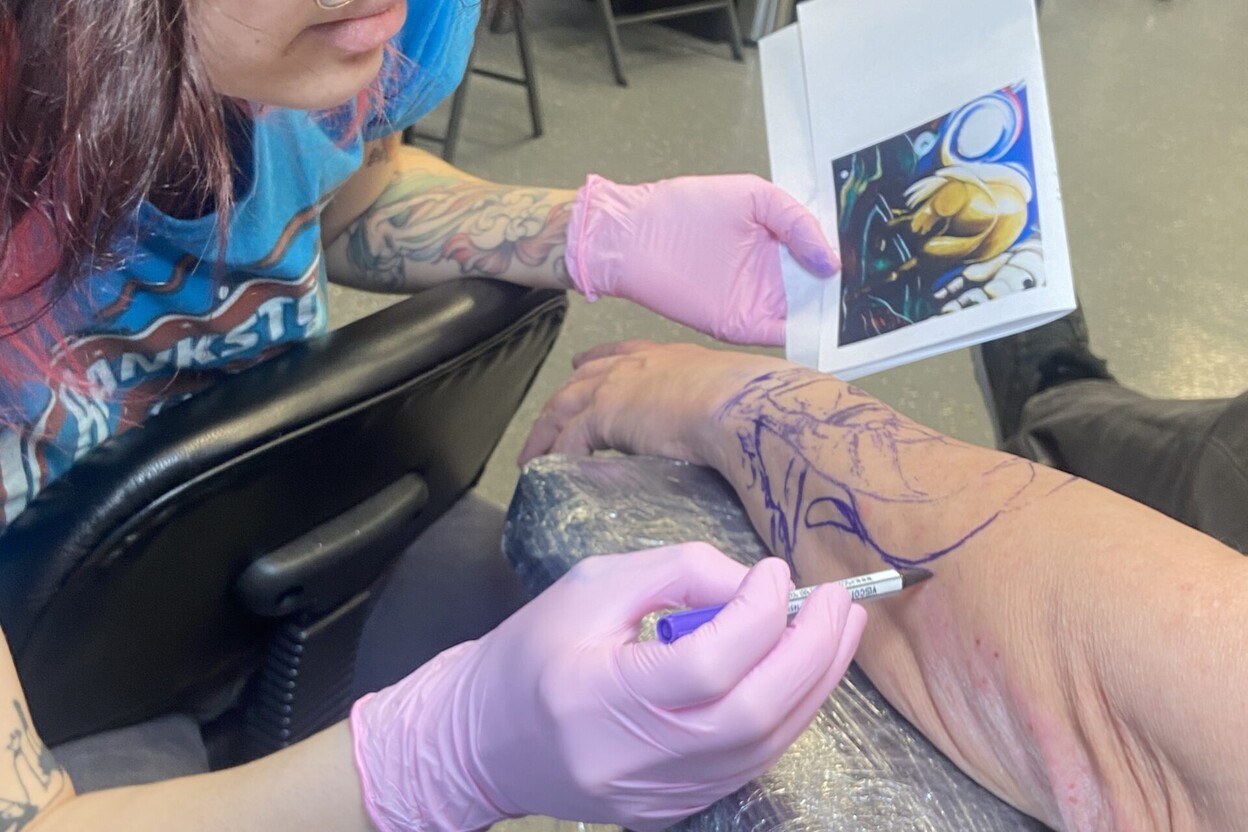
You can prepare tattoo stencil designs at home without owning a full studio setup. The right method depends on whether you want a hand-traced stencil, a thermal print, or a practice template for synthetic skin.
This guide to how to make tattoo stencils at home focuses on design preparation and practice, not on replacing professional training or hygiene standards.
Before choosing a method, read our guide to using tattoo stencil paper for a closer look at sheet layers, printer setup, and transfer problems.
Method 1: Hand-trace a design
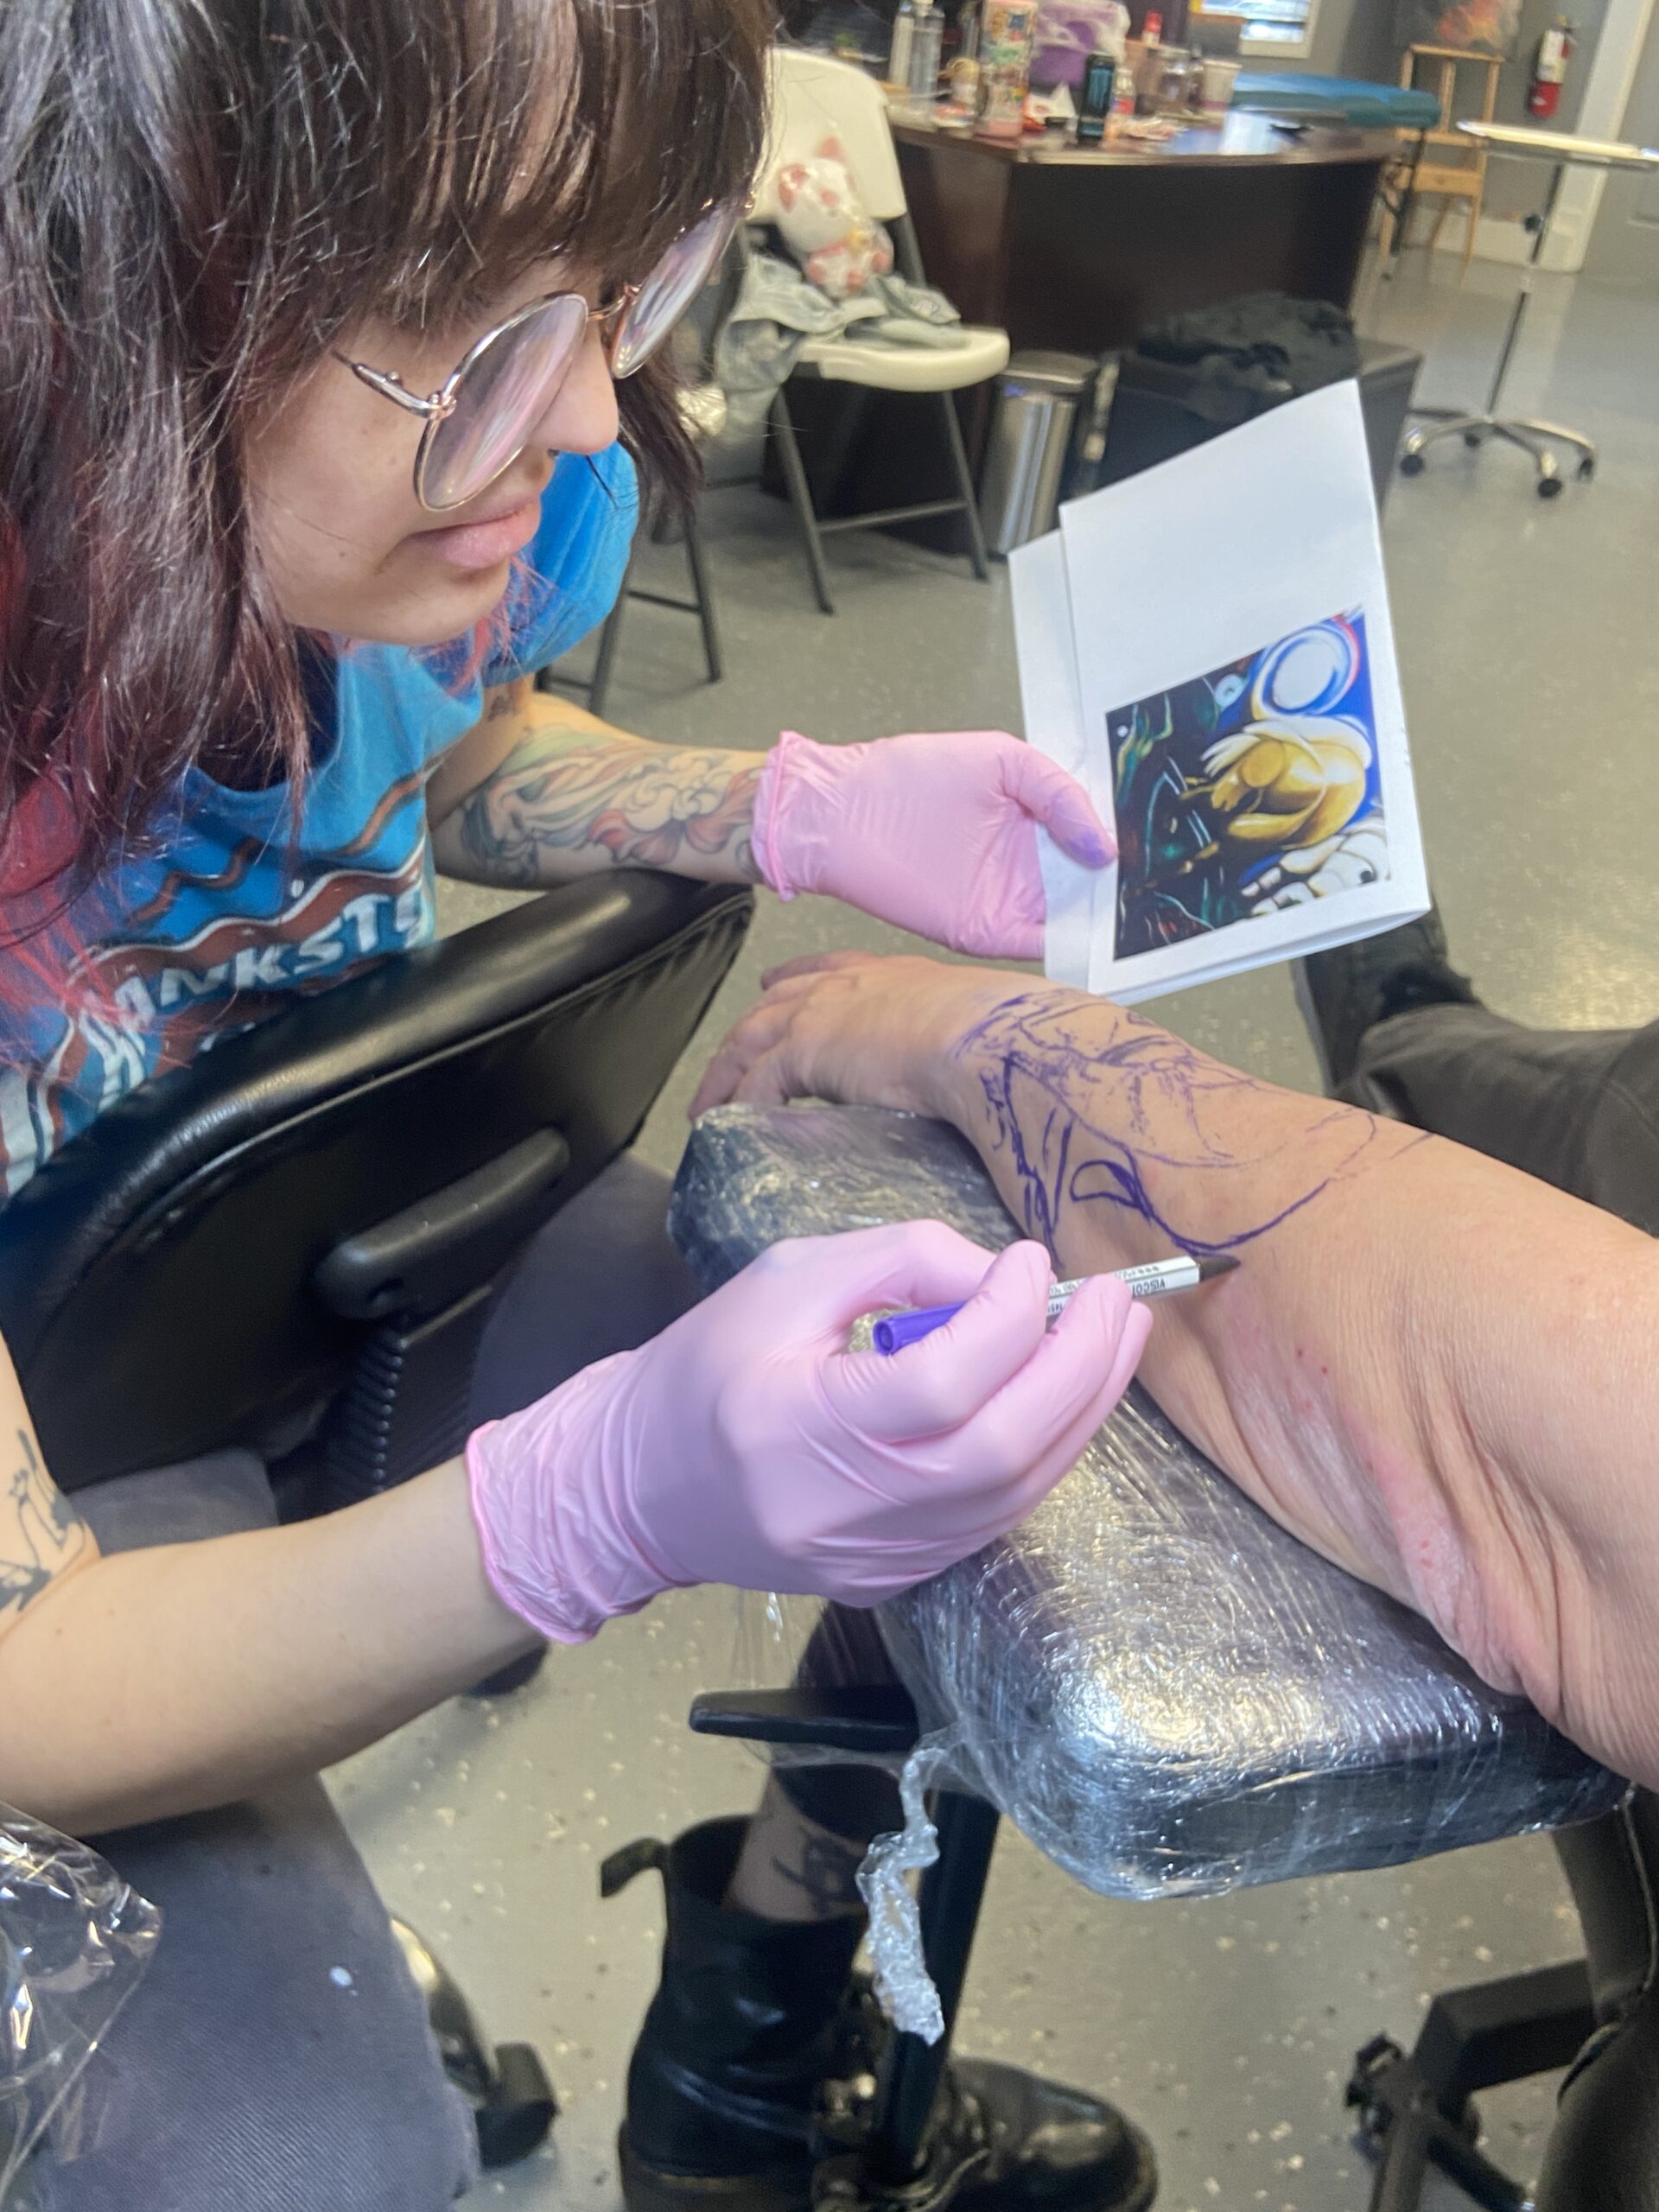
Choose stencil paper that is specifically designed for hand tracing and follow its instructions. Print or draw the design at the intended size, place the paper layers in the required order, and trace the lines carefully with the recommended tool. Work slowly around small details and keep the paper from shifting. Practice on paper or synthetic skin before relying on the result.
Method 2: Use a thermal stencil printer
A compatible thermal printer can reproduce clean linework from a digital design. Prepare the image at the correct dimensions, check whether it needs to be mirrored, and use the printer manufacturer’s recommended stencil paper. Load the sheets in the correct orientation and make a test print. If lines are missing or too light, check the paper, settings, and design file before printing again.
Method 3: Make a paper practice template
If your goal is drawing, composition, or placement practice, a normal paper template can help you check proportions and line flow. It is useful for rehearsing the design on a sketchbook or practice surface, but ordinary paper and office transfer materials should not be assumed safe for application to human skin.
Choose a design that transfers clearly
Very small designs with dense detail can become difficult to read after transfer. Simplify unnecessary marks, keep important outlines distinct, and choose a size that preserves the design’s structure. Fine lettering and tiny gaps deserve extra scrutiny before printing.
Supplies for a beginner setup
- Stencil paper matched to your chosen method
- A clean design file or printed reference
- A compatible thermal printer, if using thermal transfer
- Recommended tracing tool, if hand tracing
- Synthetic skin or paper for practice
- Instructions from each product manufacturer
Common problems
- Reversed image: Check mirroring before printing or tracing.
- Missing lines: Inspect the original design and printer/paper compatibility.
- Overcrowded details: Increase the design size or simplify the artwork.
- Paper layers out of order: Follow the paper’s specific diagram.
- Stencil shifts: Practice handling and placement on a non-human surface first.
Can you use a homemade stencil on real skin?
The design may be homemade, but materials that contact skin must still be suitable for that purpose. Do not use office carbon paper, craft dyes, markers, adhesives, or household chemicals on skin unless the product is specifically labeled and approved for that use. Tattooing another person also requires professional training, infection control, sterile equipment, and compliance with local regulations. Keep early experiments to paper and synthetic skin and learn under qualified supervision.
Frequently asked questions
Can I make a tattoo stencil without a thermal printer?
Yes. Stencil paper designed for hand tracing can work without a thermal printer. Check the paper’s instructions before starting.
Can I use a regular printer?
Do not assume standard office paper or an ordinary printer will work with thermal stencil paper. Use a method and materials that are designed to work together.

Reader Discussion
0 Comments