




Why Does My Tattoo Stencil Keep Smudging? Common Fixes

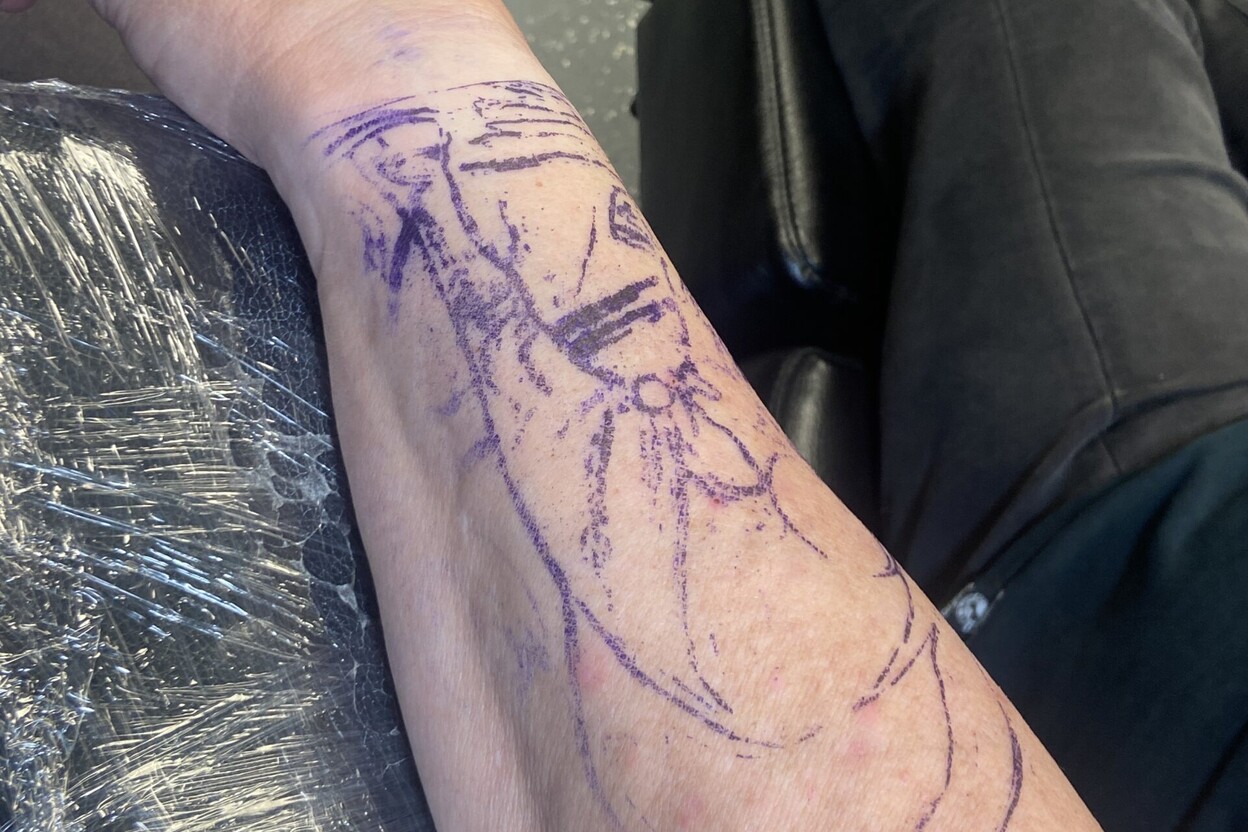
If your tattoo stencil keeps smudging, the problem usually starts somewhere in the transfer process: the paper shifts, the transfer product is not used as directed, or the stencil is handled before it has set.
Before changing several things at once, identify when the smudge appears. This guide covers the most common causes of why a tattoo stencil keeps smudging.
If smudging seems to begin with the paper or printer setup, our guide to using tattoo stencil paper explains layer order, compatibility, and faint-transfer troubleshooting.
1. The paper moves during transfer
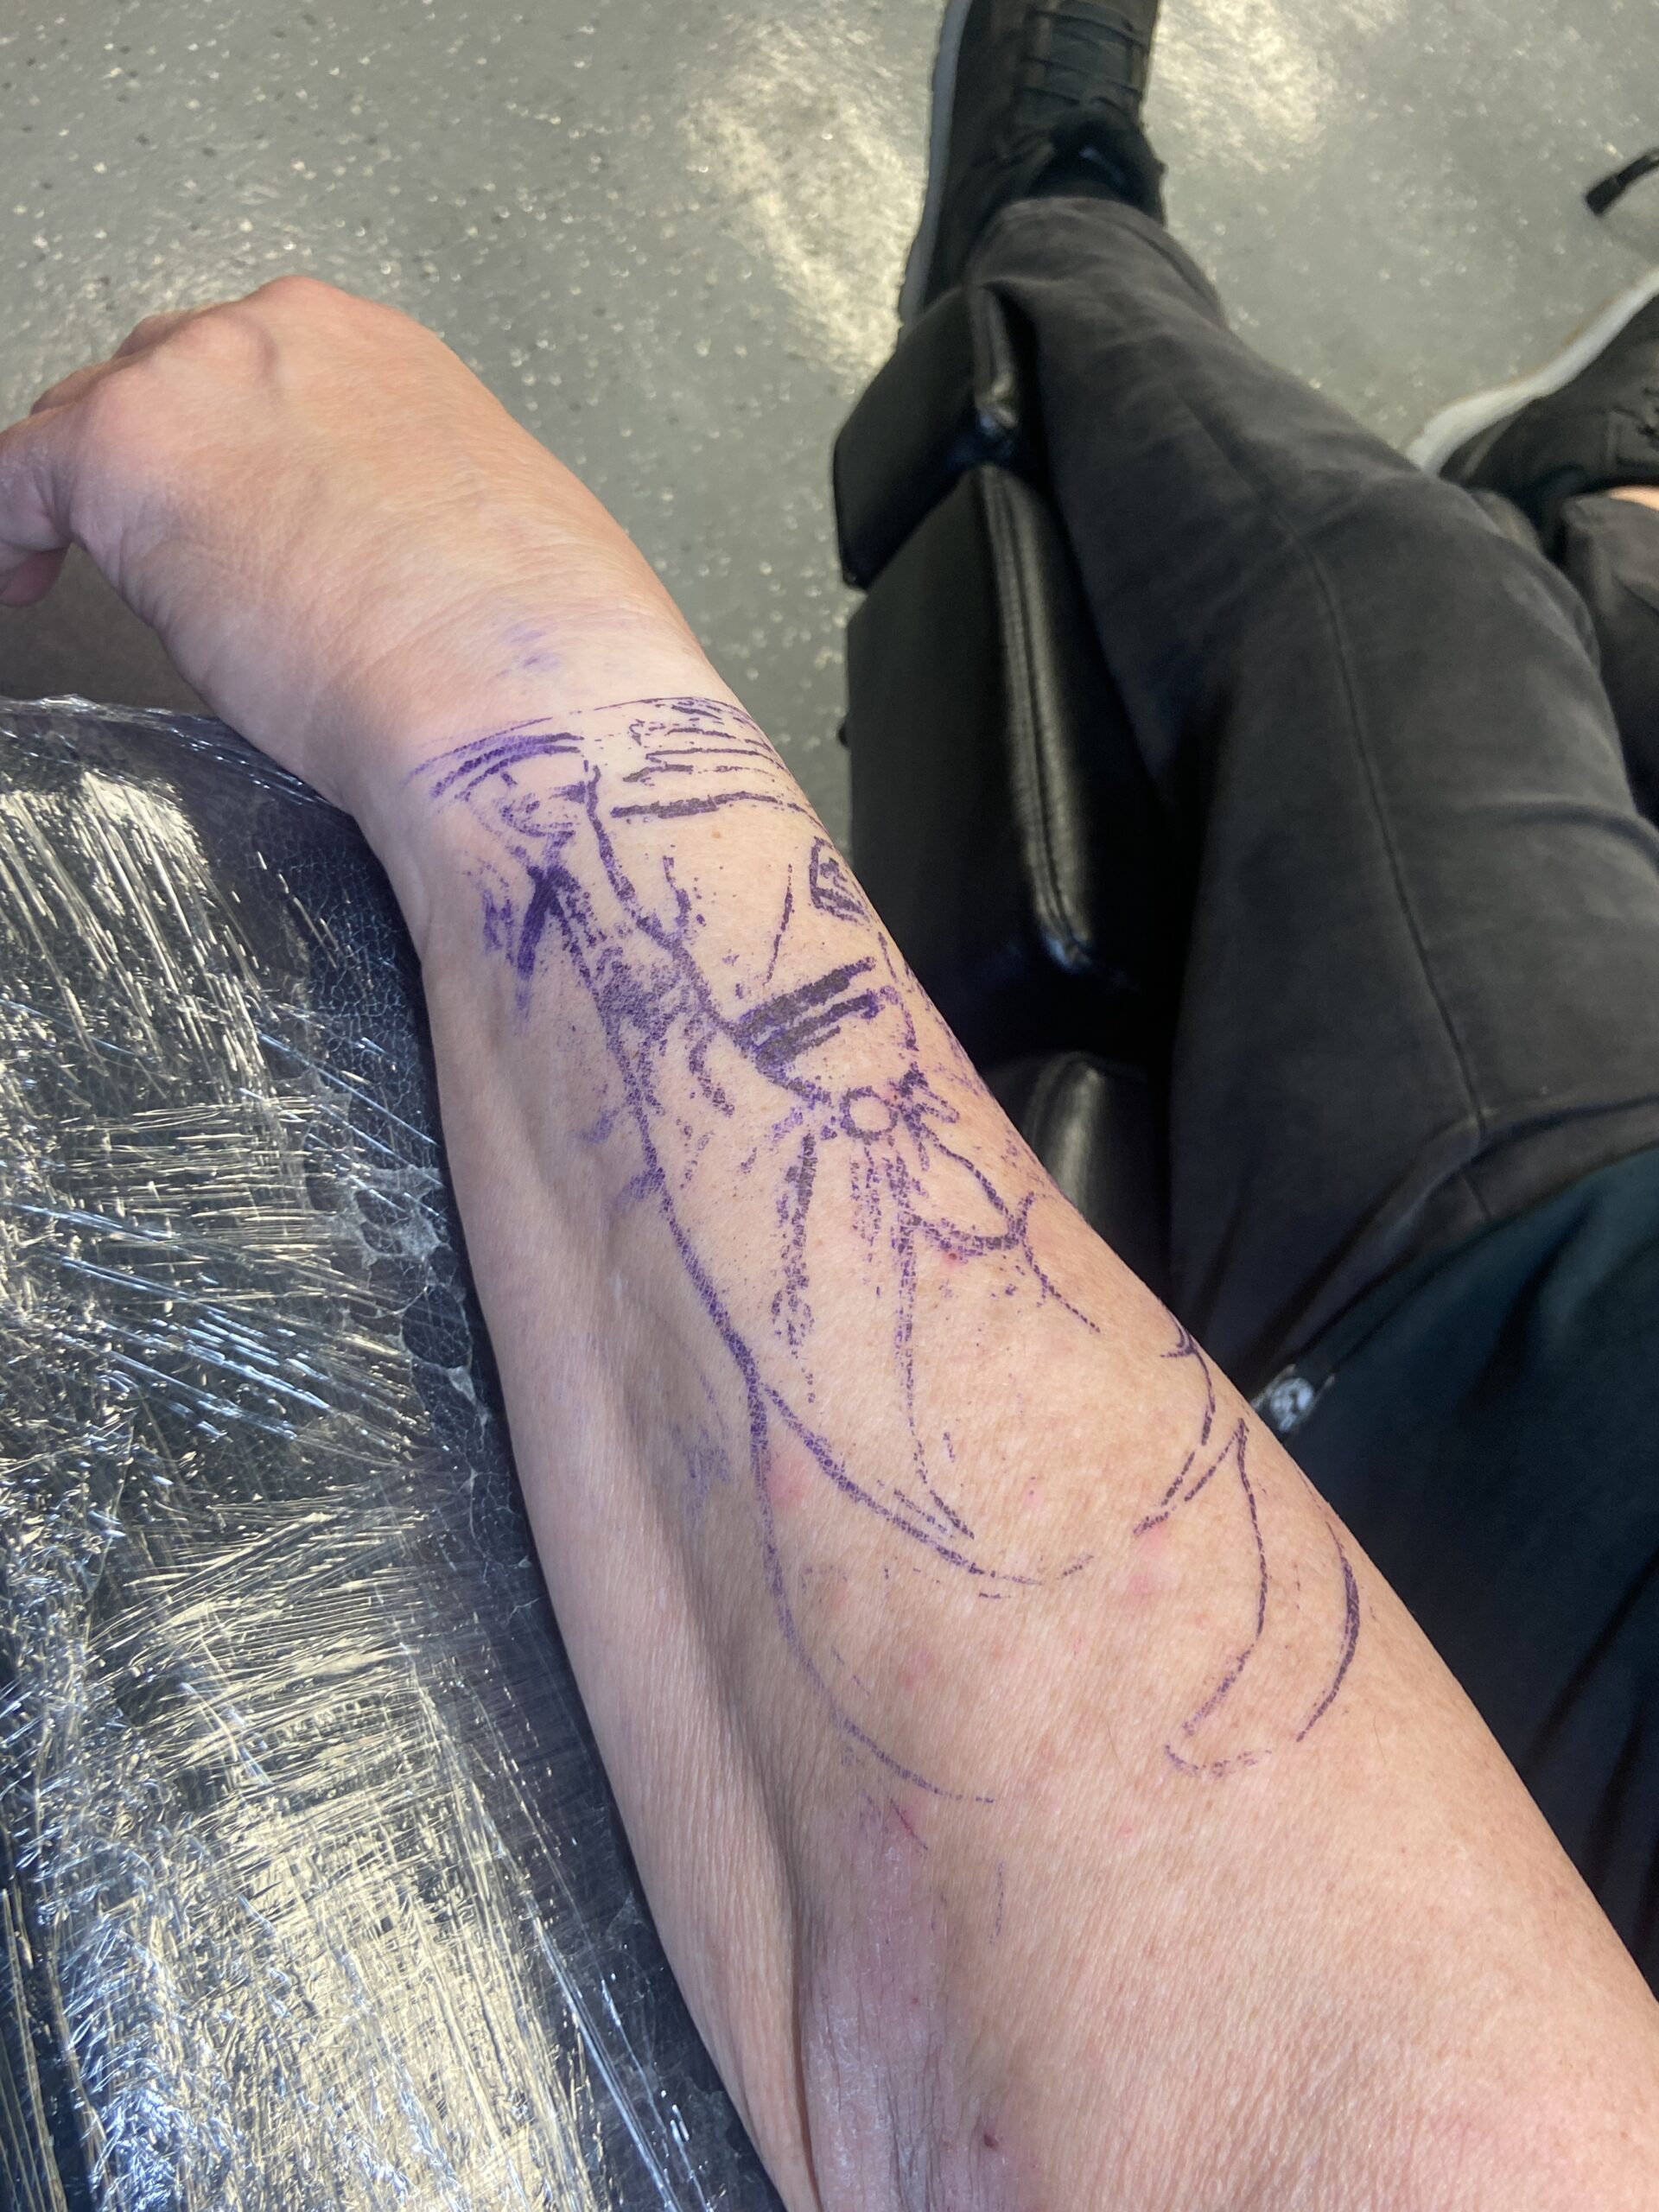
Even a small slide can create doubled outlines. Confirm placement before the paper touches down, then follow the paper and transfer product instructions for contact and removal. Do not drag the sheet sideways to correct alignment after transfer begins.
2. Too much transfer product is applied
Excess product can make the paper slippery and allow the image to shift. Use the amount recommended by the product manufacturer. Adding more product is not a reliable fix for a weak stencil and can make smearing worse.
3. The skin was not prepared as directed
Professional skin preparation and hygiene are essential. Residue or an unsuitable preparation method can interfere with transfer quality. A trained artist should follow the studio’s approved protocol and use products intended for each step. Do not improvise with household cleaners or unapproved chemicals.
4. The stencil was handled too soon
Touching or rubbing the lines before the transfer has set can blur the image. Follow the label’s recommended setting time and avoid unnecessary contact. There is no single drying time that applies to every formula or condition.
5. The design is too detailed for its size
Very fine lines, small lettering, and tight clusters can merge when reproduced at a tiny scale. Simplify the design, increase its size where appropriate, or adjust the linework so the important features remain distinguishable.
6. The paper or printer setup is wrong
Thermal paper loaded in the wrong direction or used with an incompatible printer can produce faint, uneven, or confusing marks. Check the paper type, loading diagram, printer settings, and original file. Make a test print on practice material after changing the setup.
7. The stencil is being repositioned
Trying to move a transferred stencil can leave a ghost image. If placement is wrong or the lines are unreadable, follow professional procedures to remove the transfer, re-prepare the area, and start with a fresh stencil rather than layering another image over it.
Quick diagnosis
| When it smudges | Check first |
|---|---|
| As the paper is lifted | Paper movement, contact, and removal technique |
| Immediately after transfer | Transfer product amount and product instructions |
| After touching or wiping | Setting time and handling |
| Only in detailed areas | Design size, line density, and print clarity |
| After changing supplies | Paper and transfer product compatibility |
What to do if it has already smudged
Do not tattoo over a stencil you cannot read accurately. In a professional studio, pause and follow the approved process for removing it, preparing the area again, and applying a new transfer with clean supplies.
If a product causes irritation or an unexpected reaction, stop using it and follow appropriate professional guidance.
Frequently asked questions
Can I use hairspray to stop smudging?
Do not use hairspray as an improvised skin product. Choose products intended for tattoo stencil transfer and follow their labels.
Should I press harder when applying the stencil?
Not necessarily. Pressure alone does not solve a transfer-product or paper-movement problem. Follow the paper and product instructions.
Reader Discussion
0 Comments